Getting Started
How to Deploy your app instantly
Once you have signed in, you will be presented with a dashboard like this:

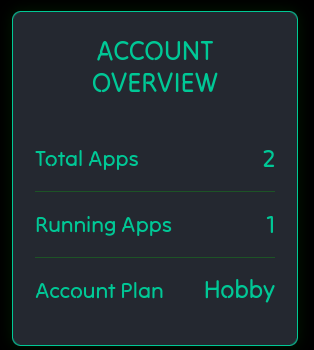
Account Overview
This will show you the total number of apps you have, the number of apps running and the account plan. Currently there's only one plan (ie Hobby).
Applications
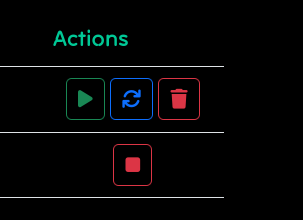
This will show all your applications and their states. Apps have 4 States:
- Running
- Exited
- Building
- Failed
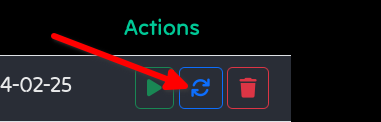
You can also manage your apps by stopping, starting, updating and deleting them by pressing their respective buttons. See image below:
Viewing Logs
You can view the logs of an app by clicking the app name, you will be able to see two types of Logs:
App Logs
These are the logs generated by your application.

Build Logs
These are the logs generated when building your application.

Creating An App
To create a new app go to the dashboard and click the Deploy New App button. You will fill in the following details:
- App Name: This will be the subdomain of your application (ie: appname.deploy.tz)
- Stack: Choose the appropriate stack of your application. You can request a stack to be added if it is not available.
- Respository URL: Provide a link to the Github respository hosting your application.
- Environmental variables: If your app needs environmental variables, you can place them here.

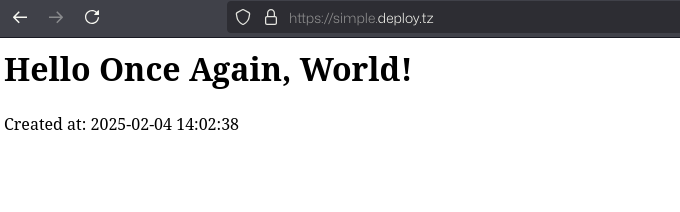
Once your app is running you should see its status as UP.

And just like that your app is live and available via your-appname.deploy.tz:
Updating An App
To update an app, simply stop the app then click the update button:
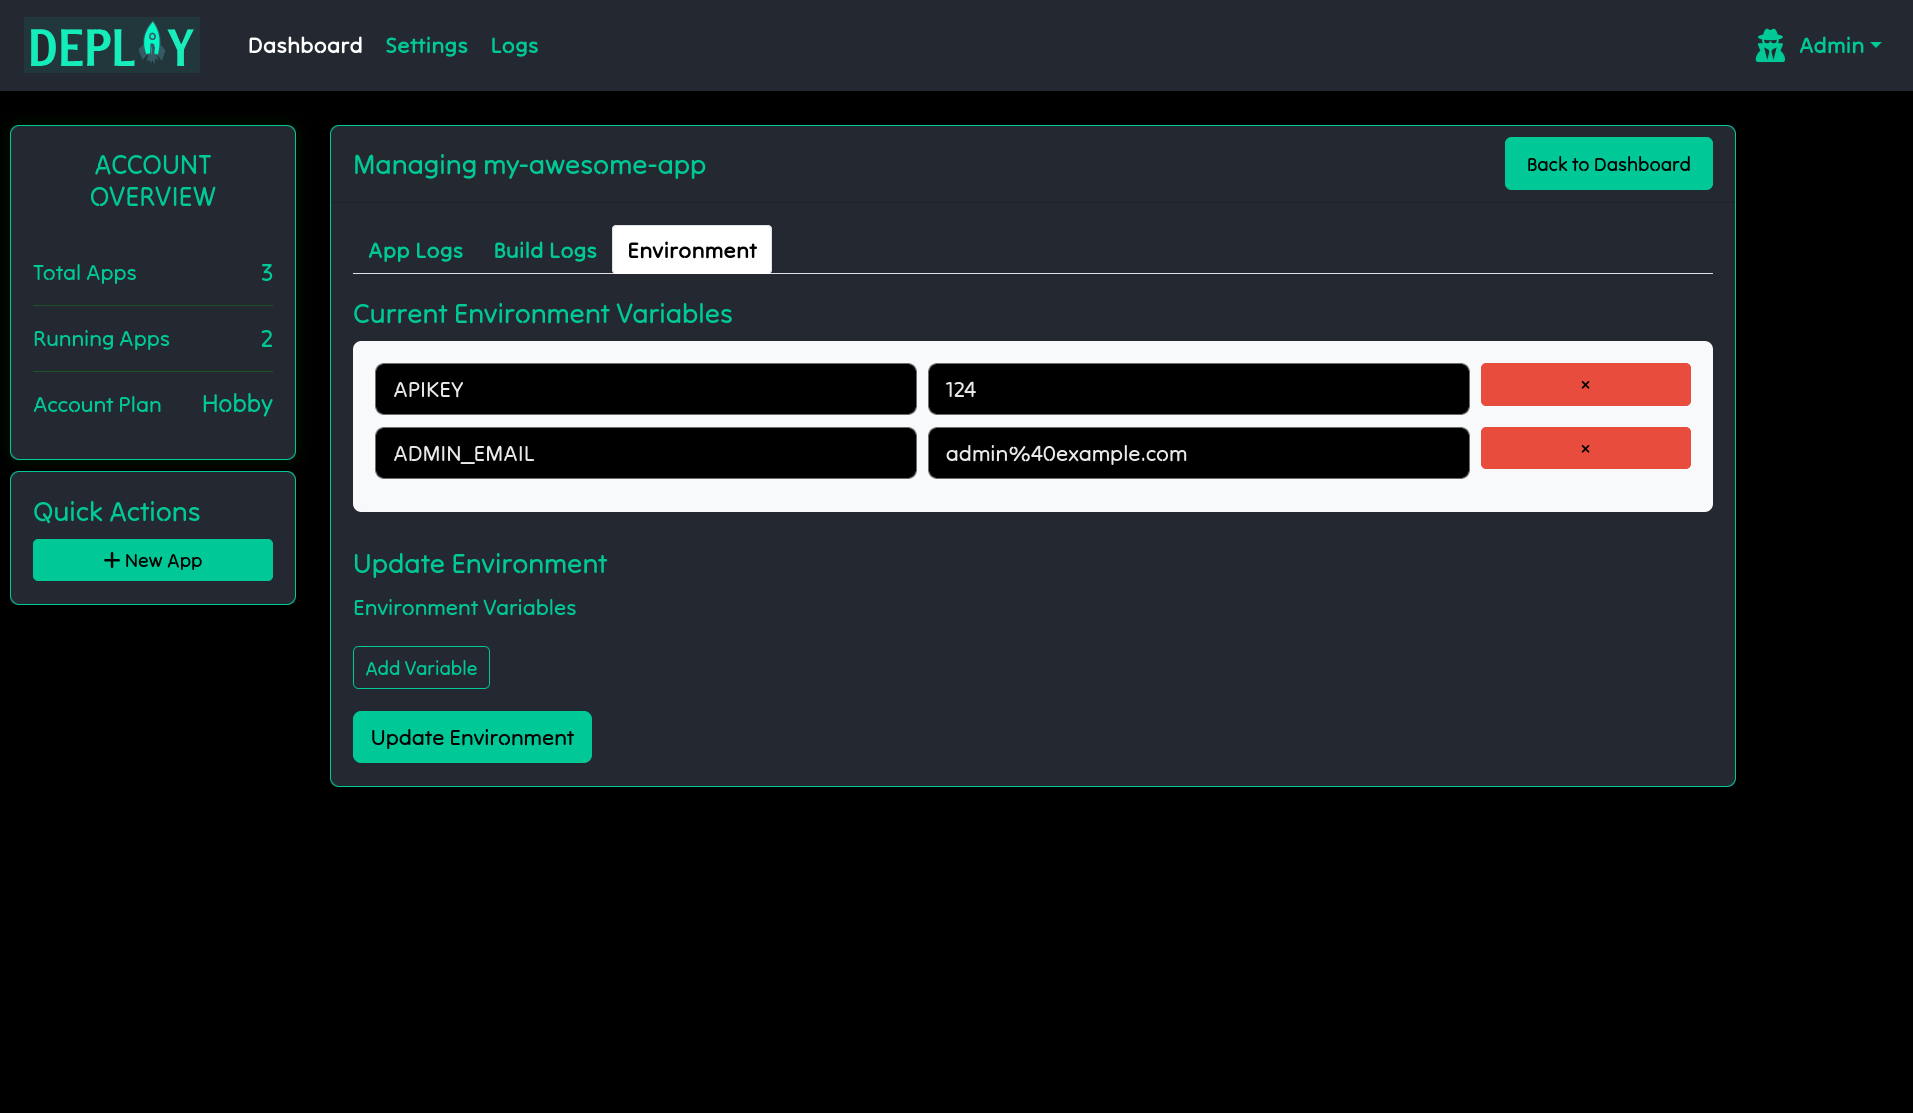
If your app has environmental variables then you can update them by clicking the app name and going to the Environment tab:
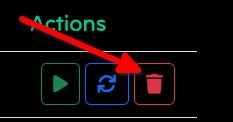
Deleting An App
To delete an app first stop the application if it is running, then click the delete icon. Everything about the app will be deleted.